Hey 3 readers, let me put down this short and hopefully effective blog post for you (and for myself).
Let’s assume that you want a big loaf that will last you for most of the week (further assuming only 2 people are eating it). The baking method is, as before, the poolish method, which is probably gives you the best bread you can get without creating your own starter (which is burdensome to keep alive). Hence you start by creating a predough, called poolish, to which you will at some point add the remaining ingredients to form your actual dough.
Notice that bakers think in percentages relative to the flour’s weight when they work with a recipe, so that they can easily scale it for loafs of different size. My recipe is for 1kg of flour so it has the extra benefit of making percentages straightforward. These are the overall ingredients that you will use:
- 1kg of flour, of which 500g of wholemeal flour and 500g of Manitoba [100% flour];
- 770g of water [77% hydration];
- 20g of salt [2% salt];
- 1g of dry yeast or less [0.1%]
The poolish. Dissole all the yeast in 350g of lukewarm tap (drinking) water. Then add 350g of wholemeal flour and mix gently until you have a mass, a blob, of water and flour. If you have doubts about how to do the mixing in practice: don’t worry, it’s super simple. Check how this YouTuber does it (consider only the mixing part). Now cover it with a plastic film or a lid (always cover your dough) and leave it to rest at least overnight. If the temperature of your house is warm, it will be enough, if it is rather cold, it might take more. It should feature bubbles on its surface, as in the picture below. If you are not feeling confident that the poolish is ready, try the float test.
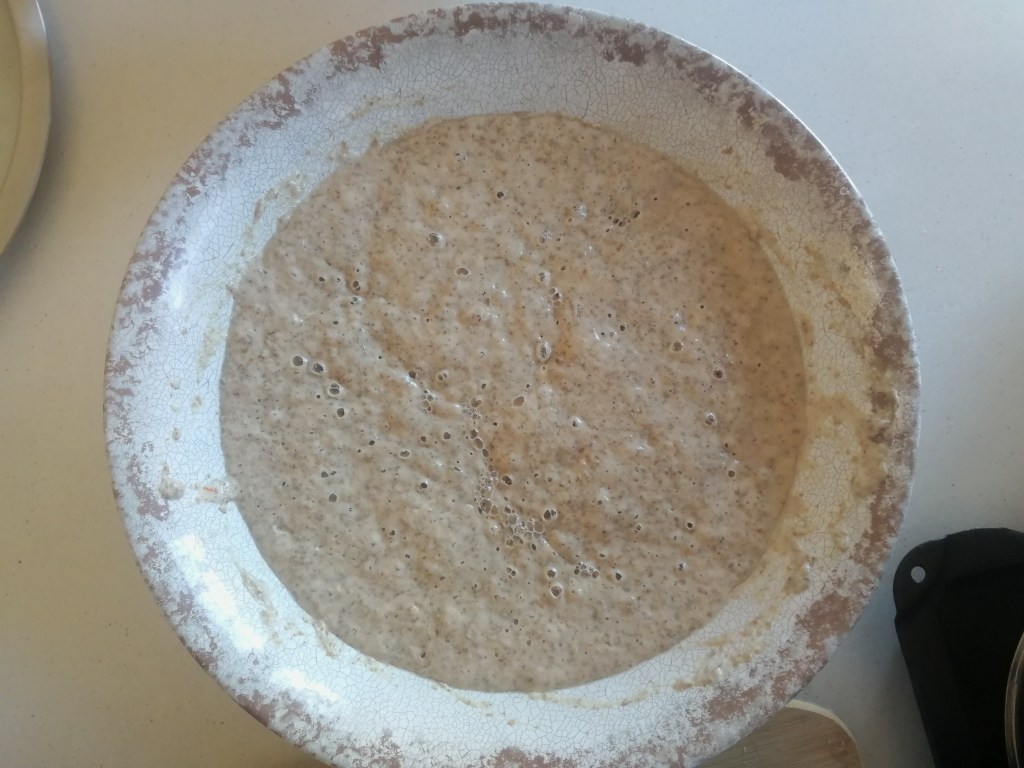
the poolish is ready
The actual dough. Add the rest of the ingredients (not the salt yet) and form the your actual dough. Let’s see how. Put your poolish in a big bowl (it might be already in one) and add 1/3 of the remaining flour (which will be a mix of wholemeal and Manitoba) and about 1/3 of the remaining water. Now mix and repeat until all the flour and almost all the water have been added. In the bit of water you kept aside, add all your 20g of salt. Don’t do anything with this salty water yet. You can get indications on how to mix from this video (from minute 1:47).
Autolysis. Have breakfast while your dough rests for minimum 20 minutes (max 1h). This will “automatically” create some structure within your dough, in what is a kind of self-kneading process. After the 20 minutes have passed, add the salty water and gently work the dough until the water is fully absorbed by the dough.
The folds. This recipe does not involve actively kneading, but rather helping the dough “self-kneading”, gaining structure progressively. If you are in lockdown, maybe you can fold the dough as shown below every 45 minutes or so for 3 times. If you have to go to work or don’t want to be harassed, just let the dough rest for 8 hours and do the folding after that. To see how to fold, check how it is done in this video, it’s super easy. Each time you repeat the procedure, you will feel the dough getting more supple and elastic, more stretchable. It is gaining the structure that will allow it to trap air inside (produced by the yeast) and to form “the bubbles”. If you have chosen the lockdown option, let the dough rest for 8 hours after the third cycle of folding.
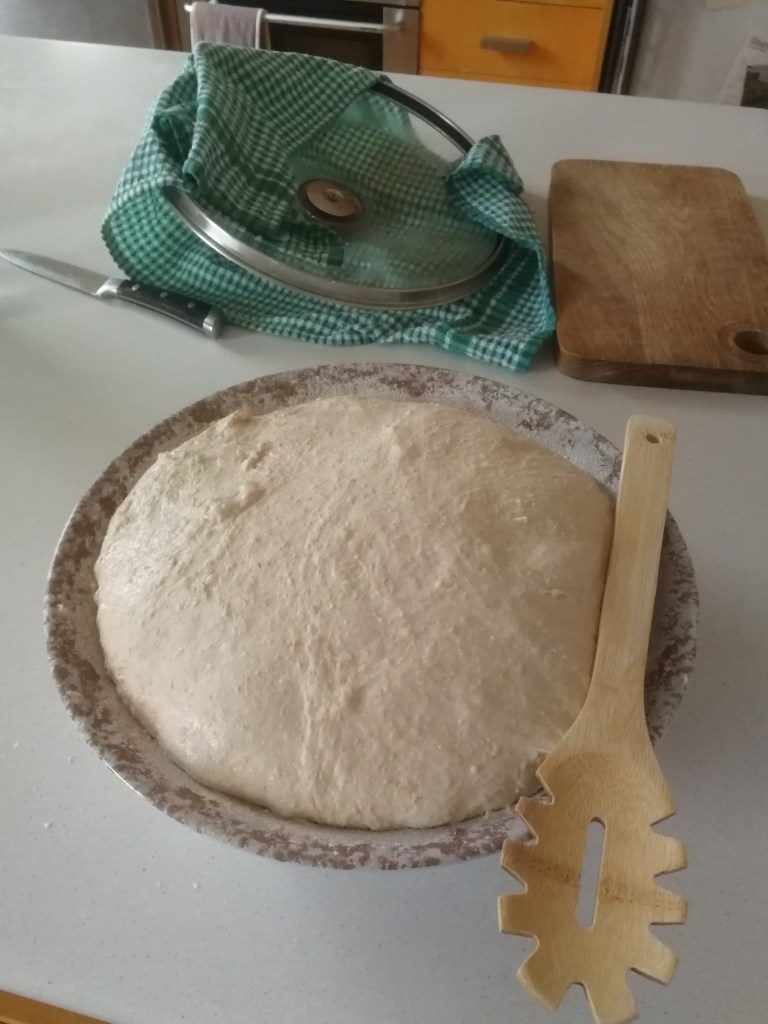
The lamination. Now, this is an interesting passage that I have introduced only recently. It is very effective in giving additional structure to the dough and spreading the bubbles evenly. I learnt how to do it by watching this video. They add ingredients while laminating, but you don’t have to and if you are following my recipe you shouldn’t. After you have completed this step, leave the dough on the table for about 30-45 minutes.
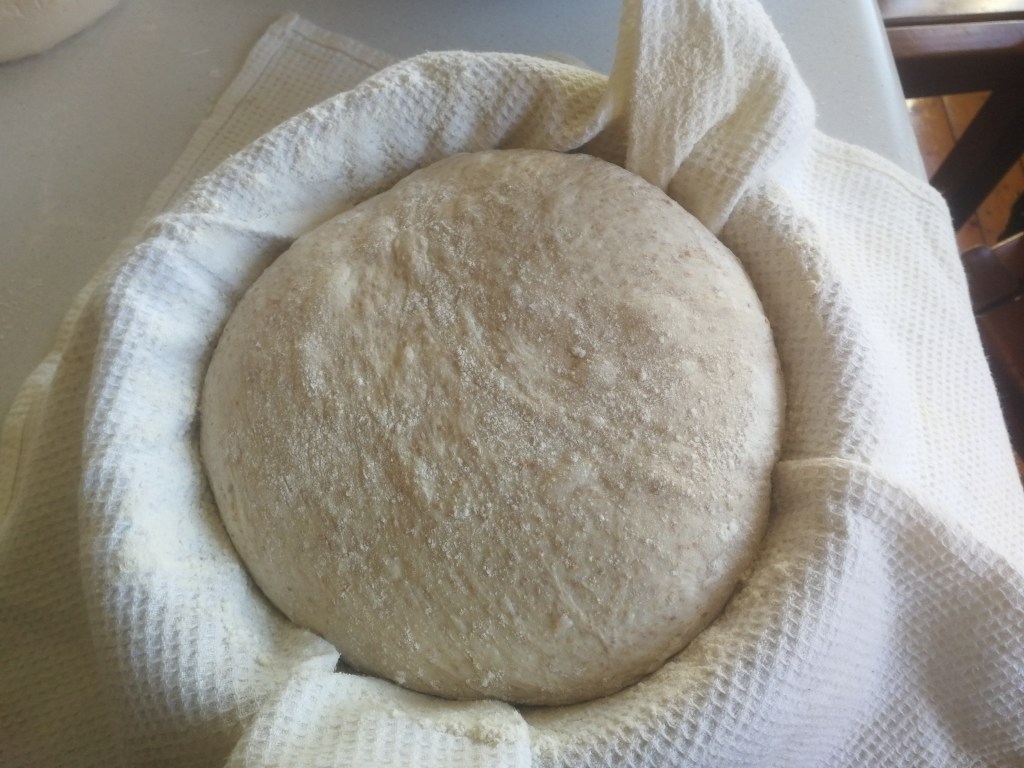
The formation. It is time to work the dough for the last time. Shape it in a boule (a round loaf) using this technique. Then grab a clean and dry towel, put it (wide open) in a bowl and cover it with a generous amount of flour. Now place your nice and round dough into it and dust it with flour at the top too. Cover the dough with the corners of the towel and put it in the fridge (proofing phase). It will stay there at least 30 minutes, the minimal amount of time to make it cold.
The scoring. Leave the dough on the table while your oven gets to 250 degrees (Celsius). When the oven is ready: (i) create tension in the dough, as shown here (as the dough has relaxed a bit since the time you shaped it); (ii) score it, using your sharpest knife, as shown here; (iii) generate steam in the oven. About point (iii), I usually do as shown here, which entails pouring water on a hot tray at the bottom of the oven.
The baking. The loaf will bake for 15 minutes at 250 degrees (static oven, often called bake, or classic bake, mode). Then you will open the oven, remove the steam-generating tray, lower the temperature to 180 (200 max) degrees and let it bake.
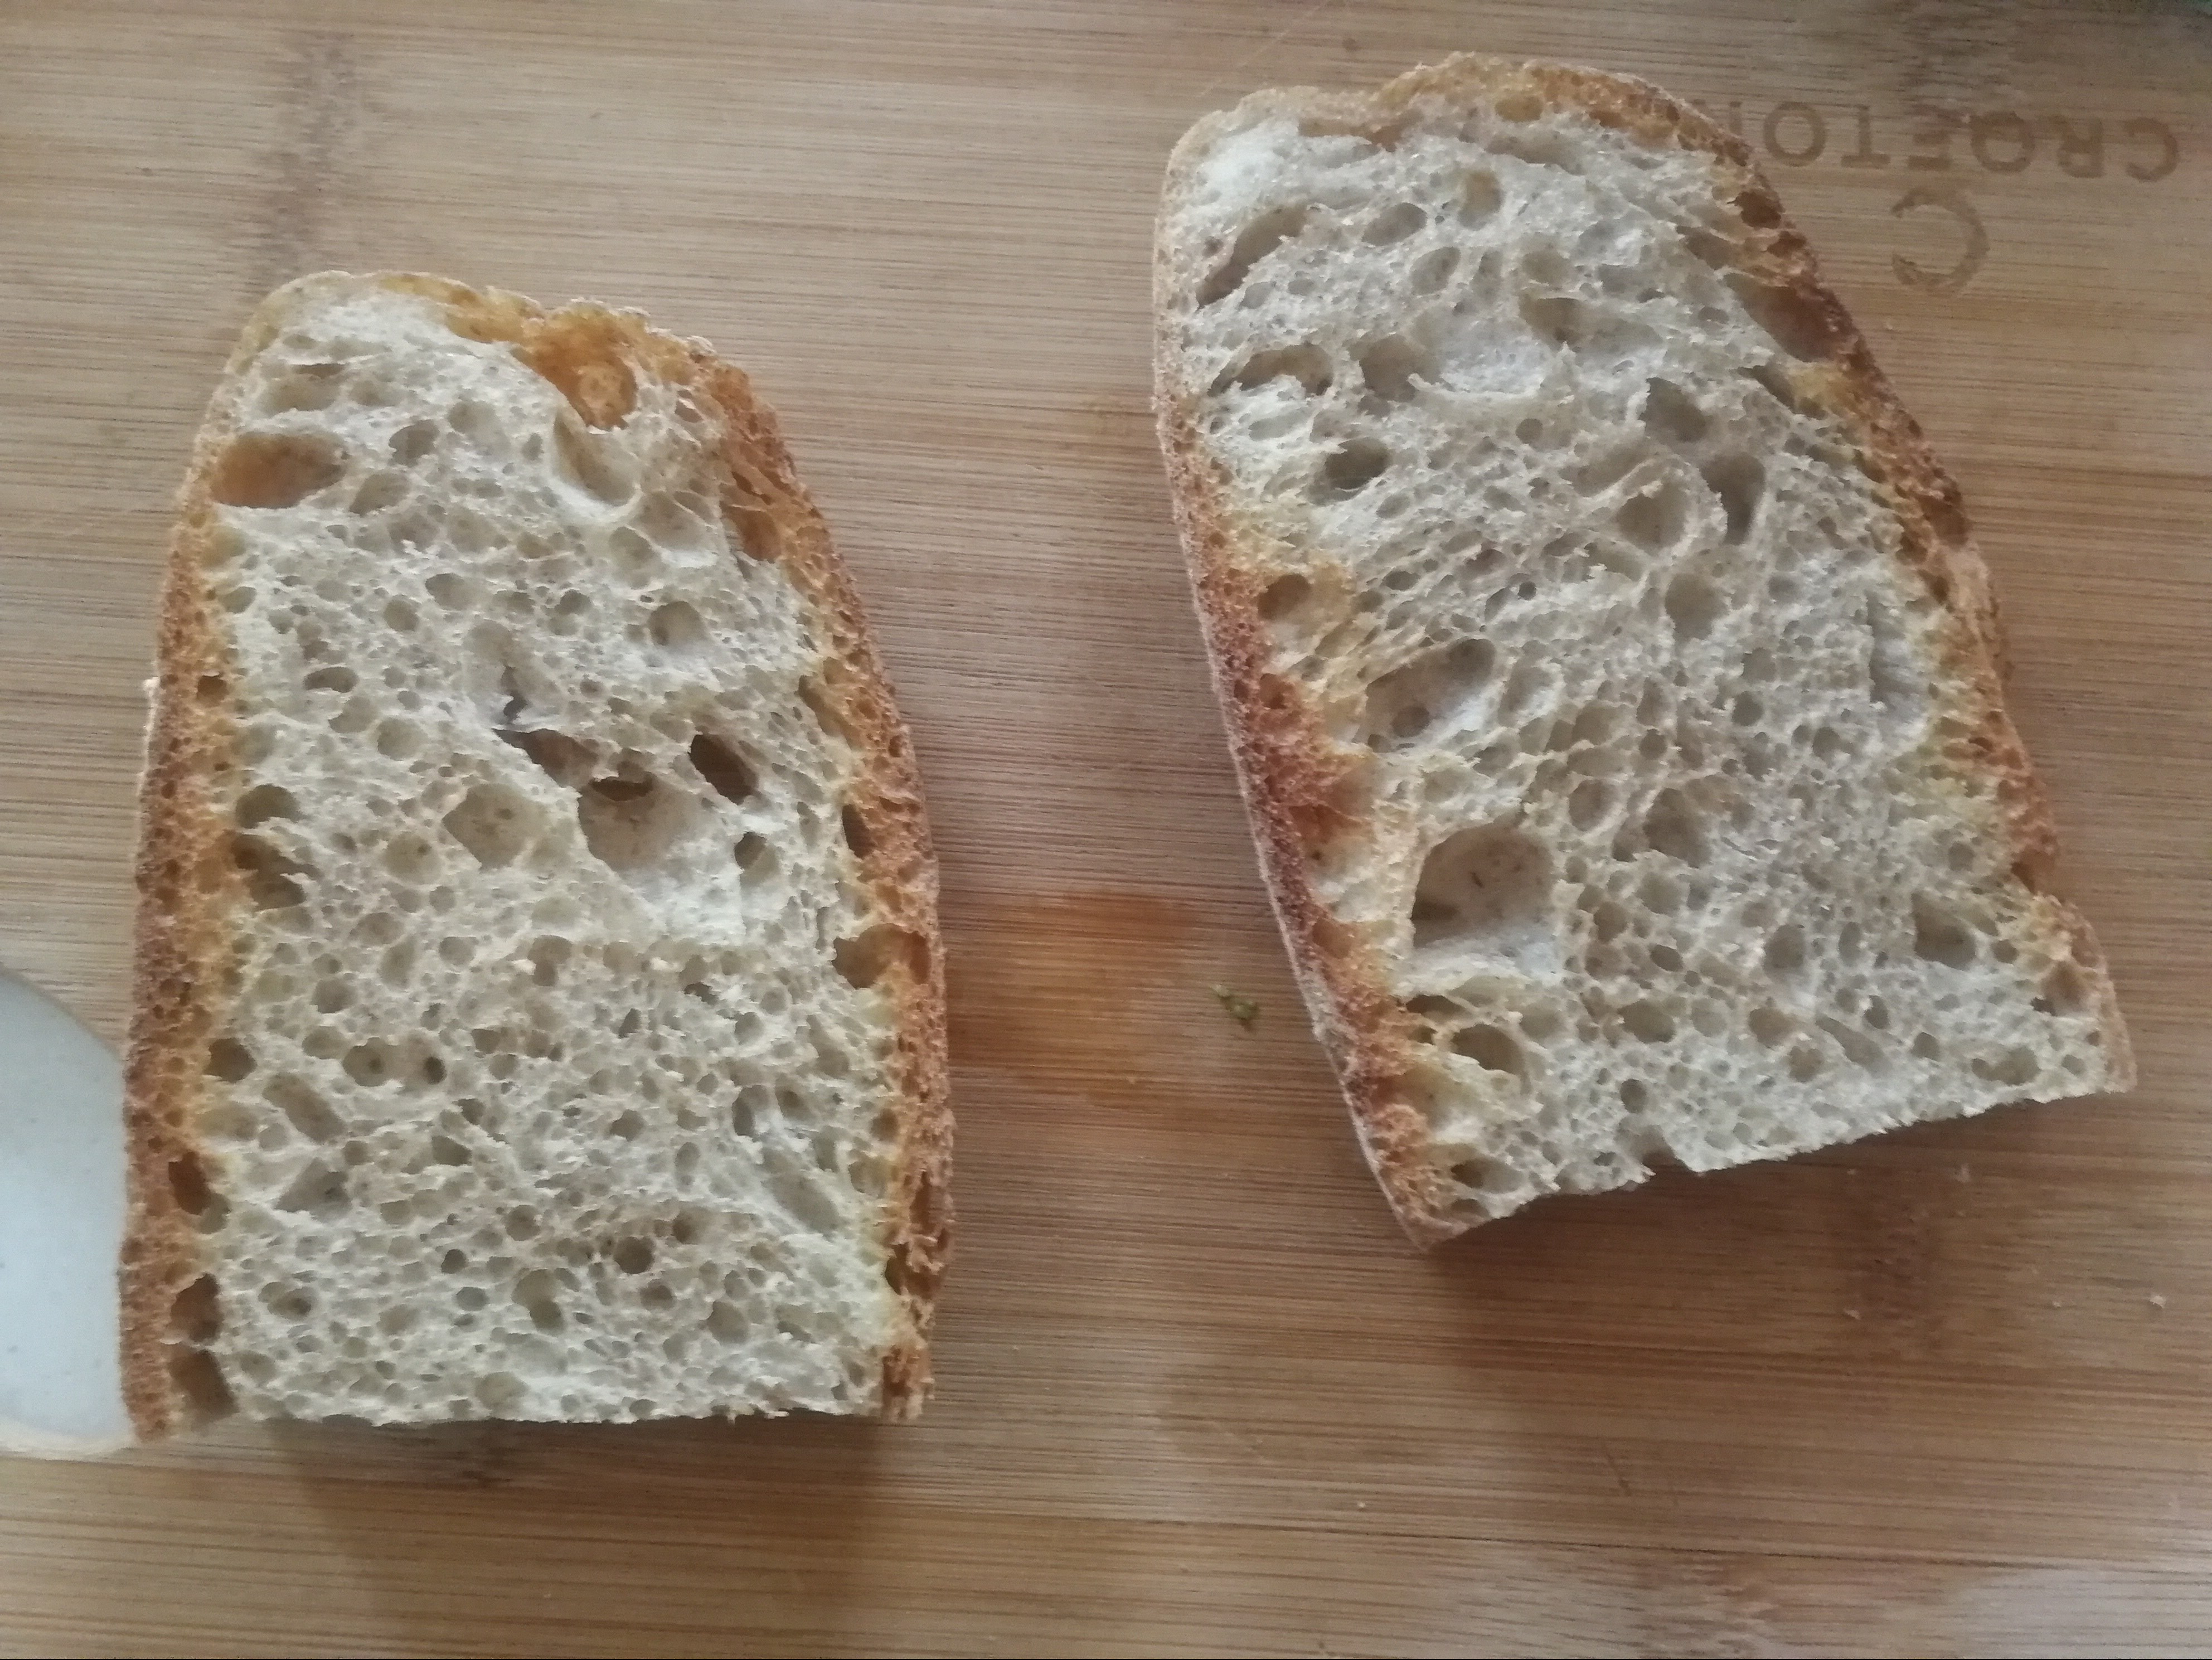
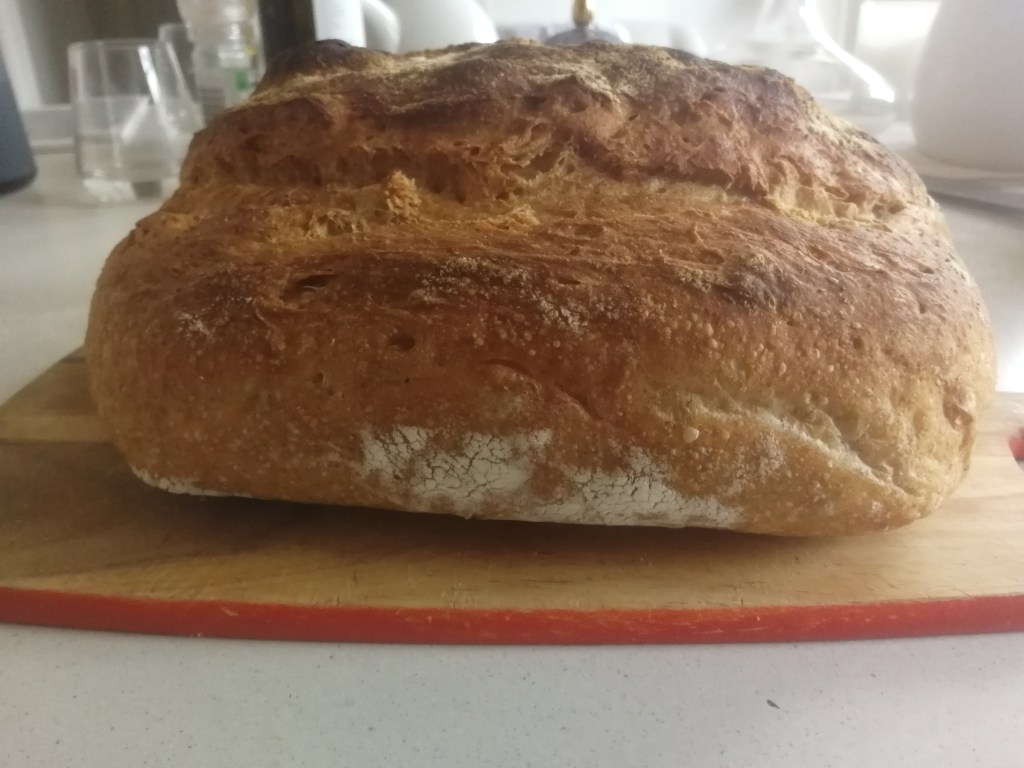
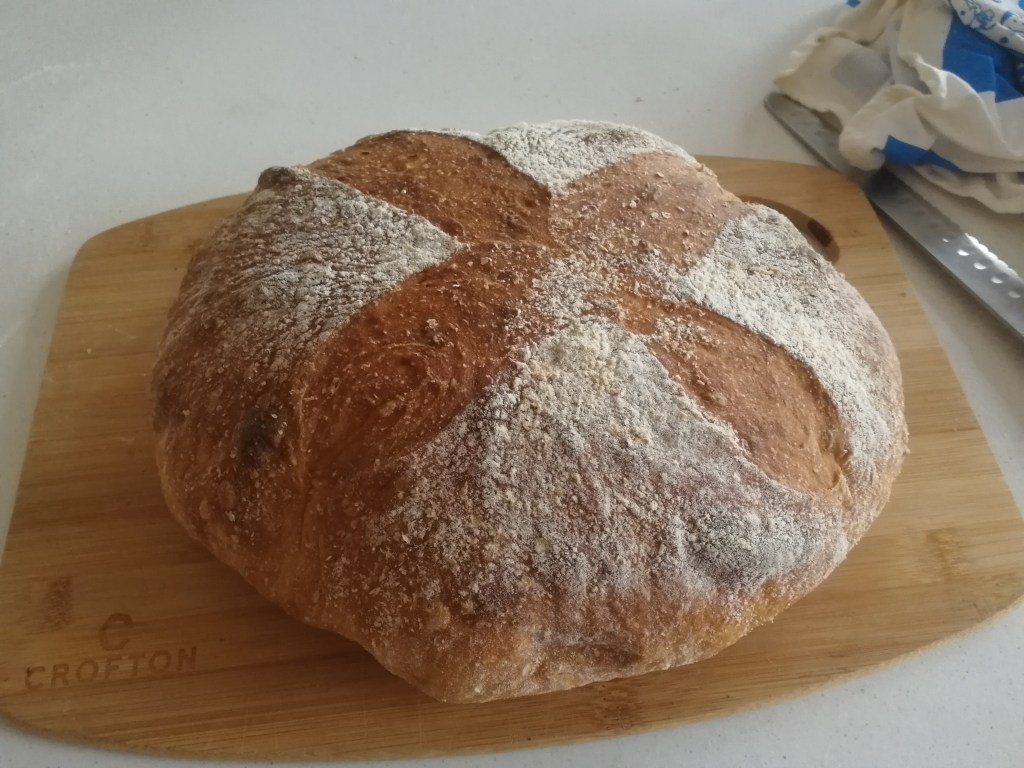
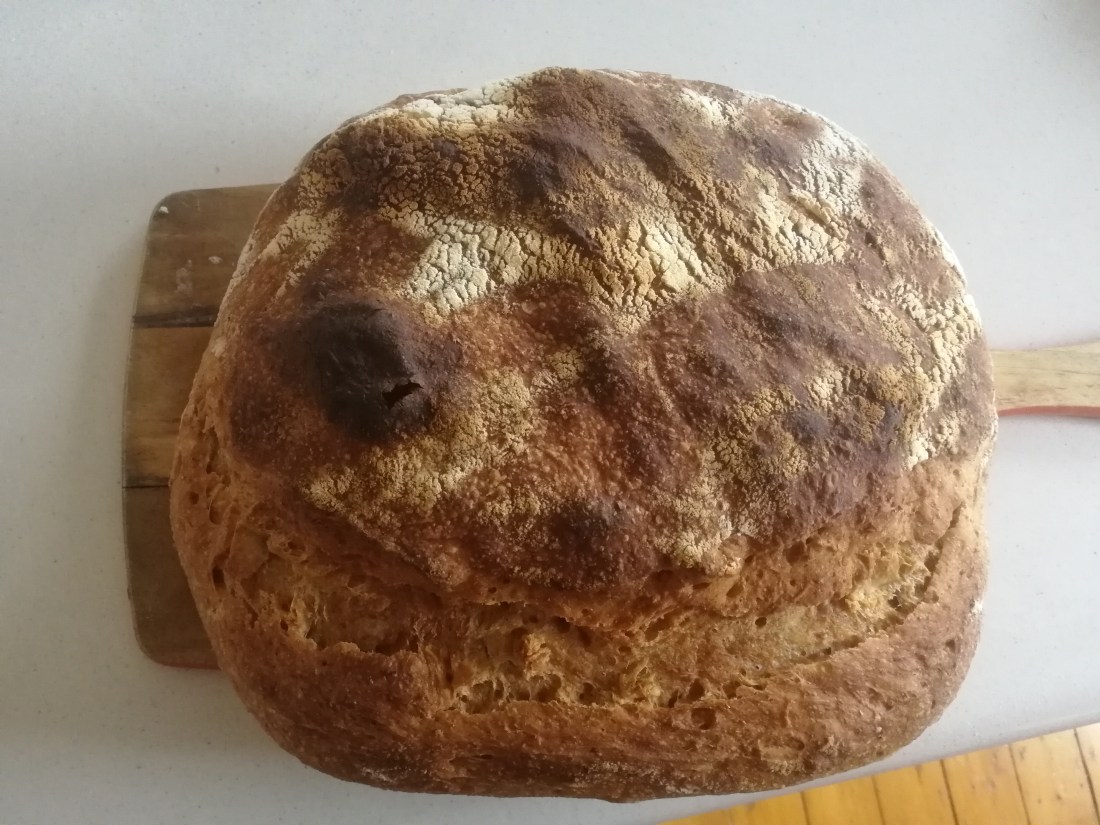
Ta-dà. You can now remove the loaf from the oven, and let it cool down on a grill for 4 hours. I let it cool overnight and try it first thing in the morning. As a grill I use my gas cooktop (obviously not turned on). Congratulations! See some results below.