(Blue Swimmer) Crab Pasta

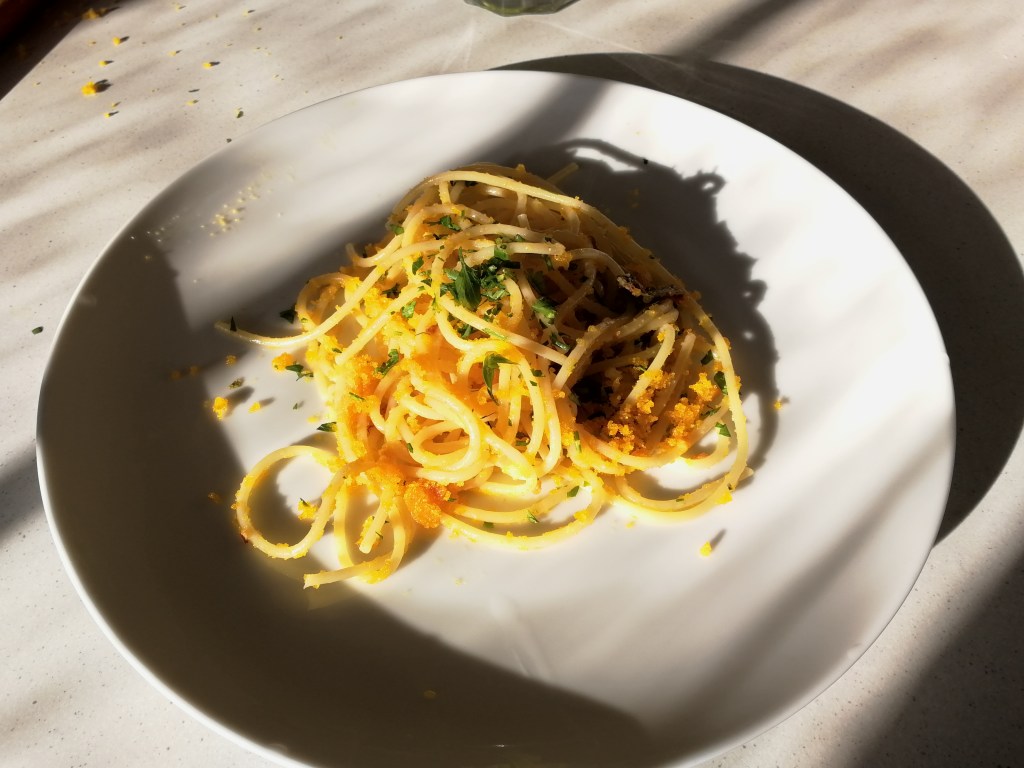
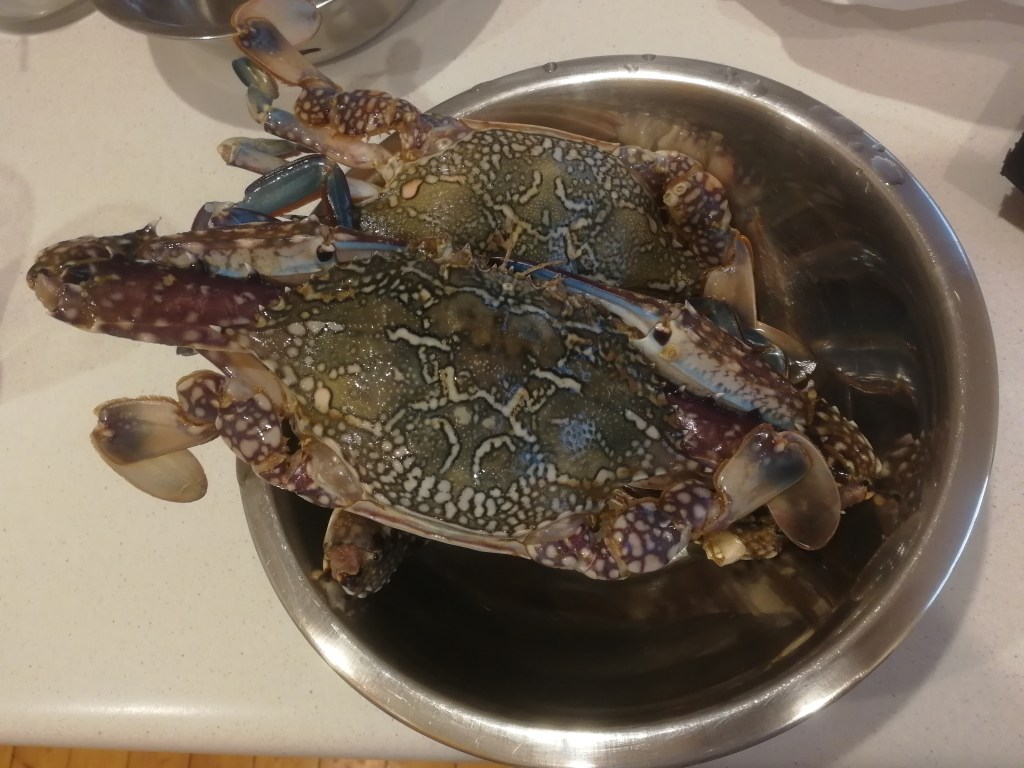
When a year ago I started getting into Italian seafood cousine, I immediately got obsessed with one of the world’s highest delicacies: crustacean pasta. Here in Australia I tried both the Blue Swimmer Crab and the Mud Crab, which is much bigger and more impressive, and for pasta sauce purposes I preferred the former.

This is a great dish and I decided to write about it after making it for New Year’s Eve and being enthusiastic about the outcome. I used this video recipe as a starting point and modified it slightly.

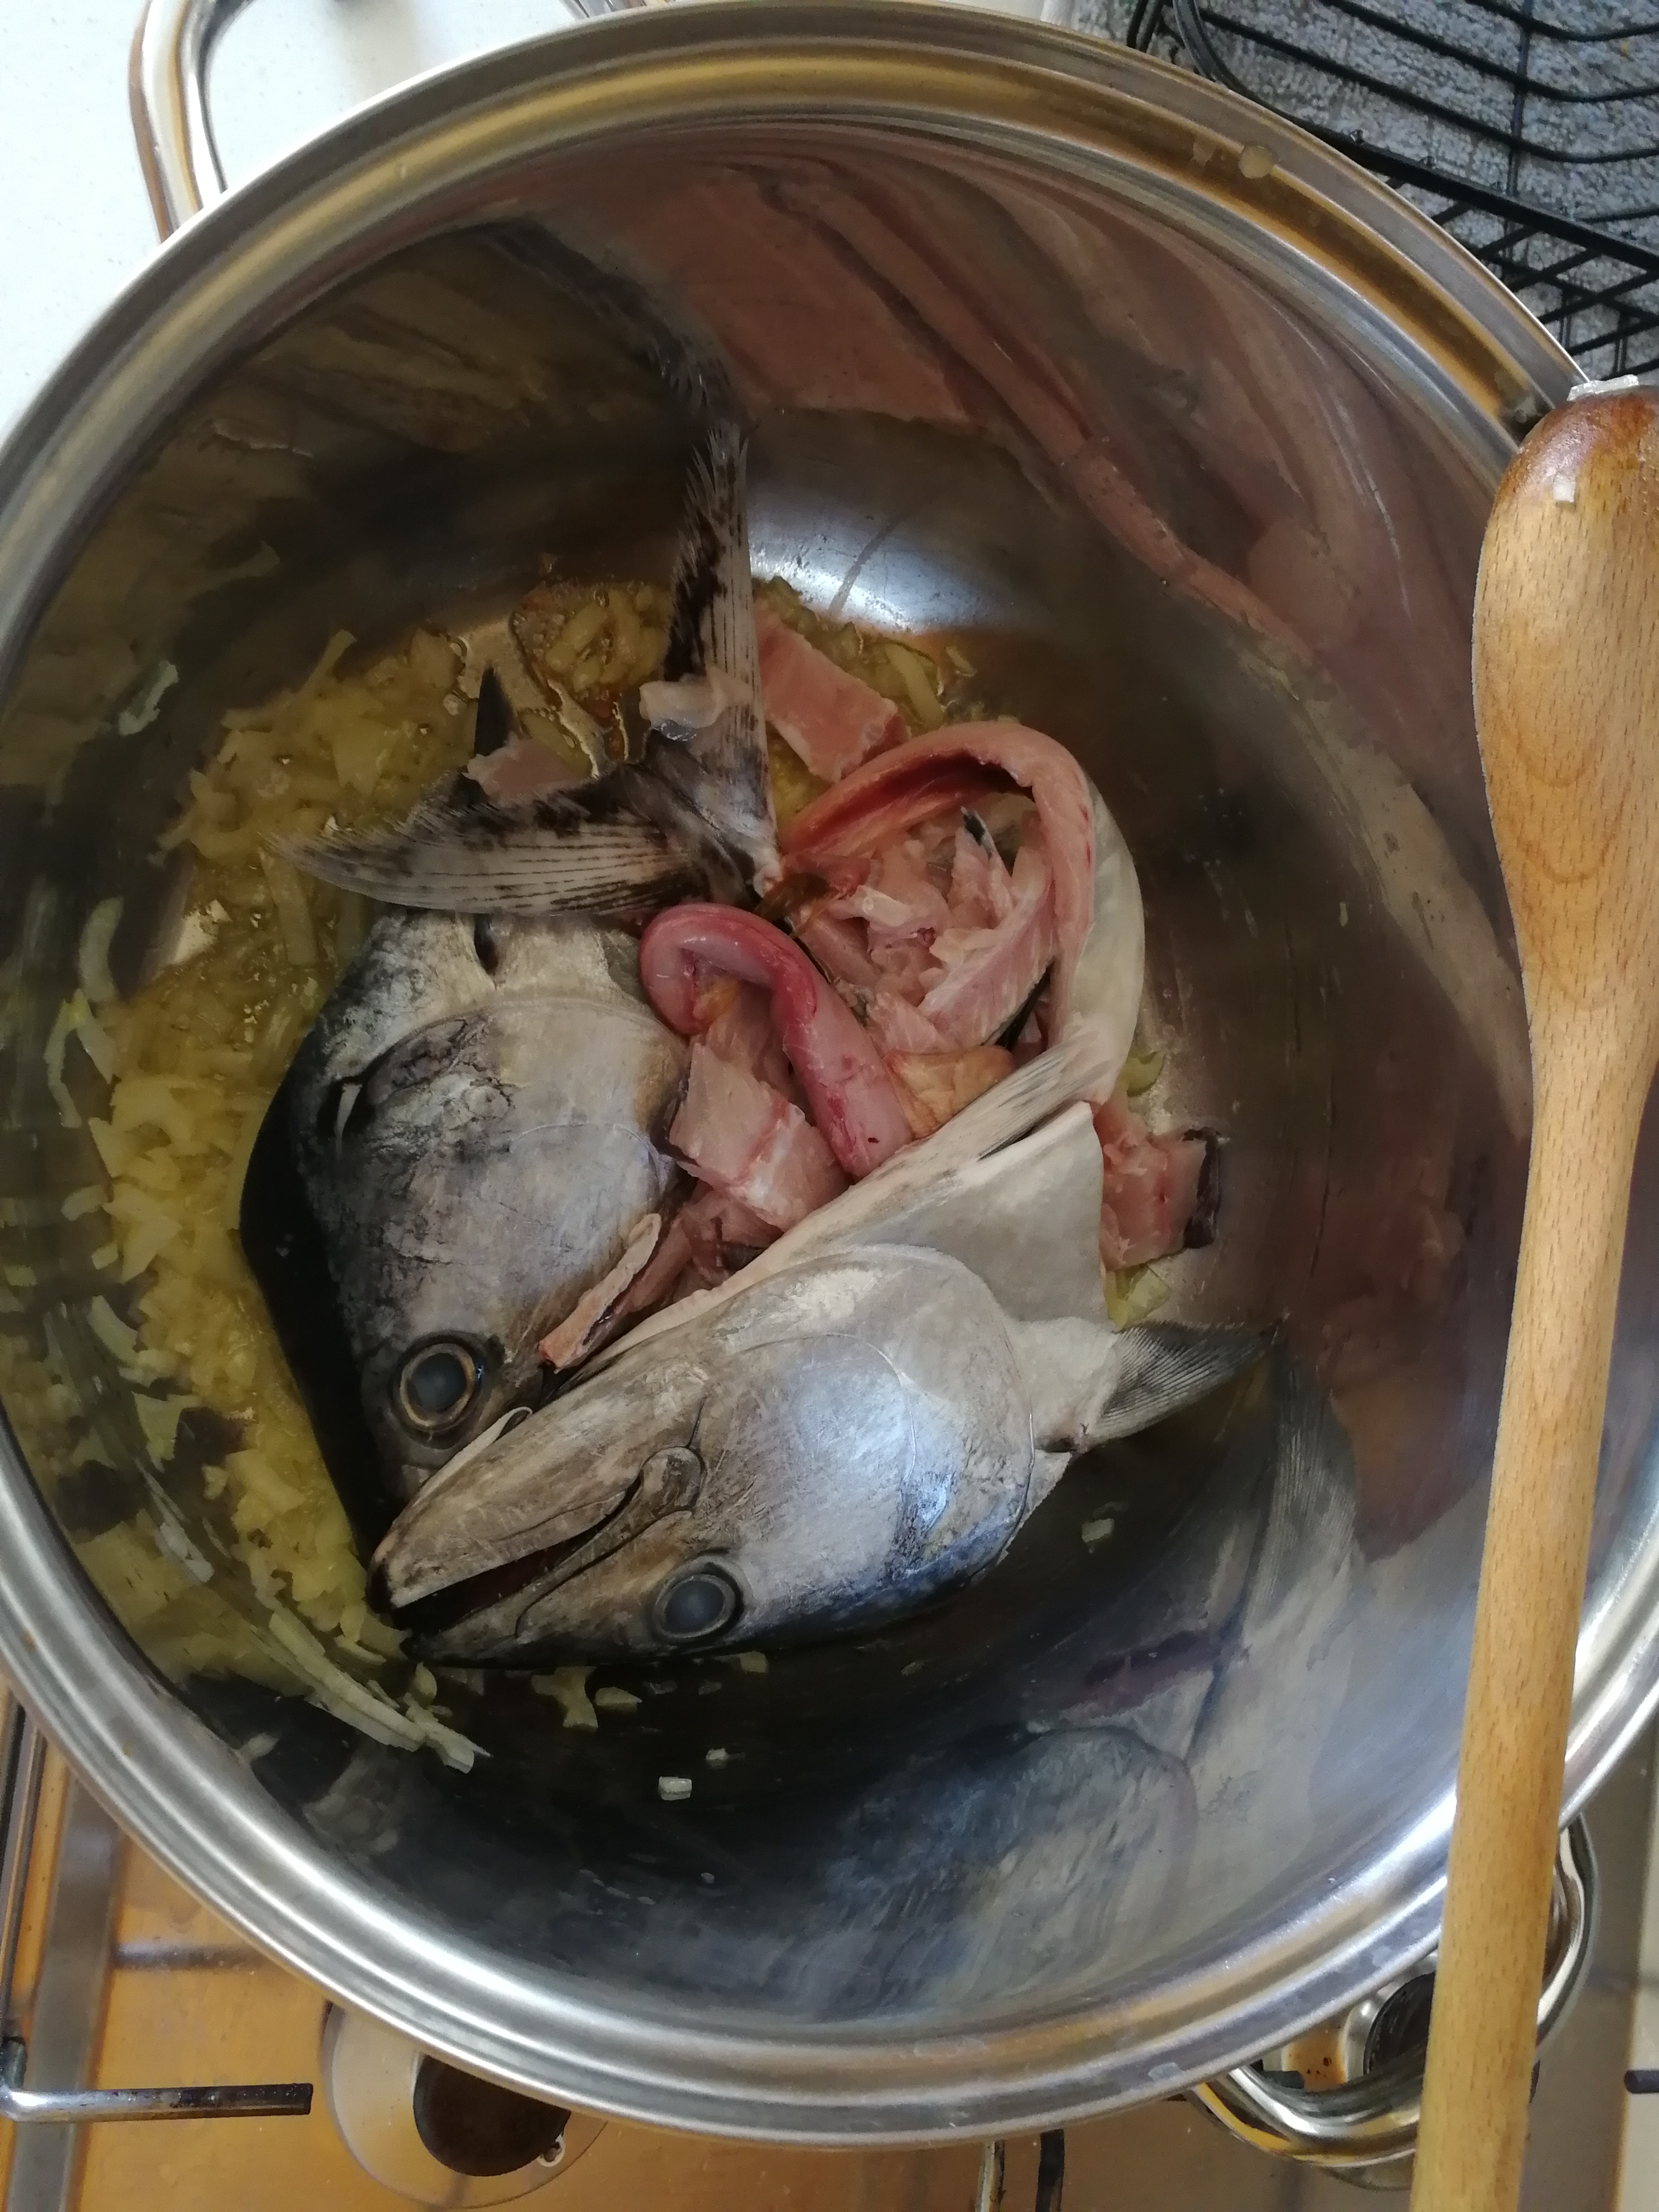
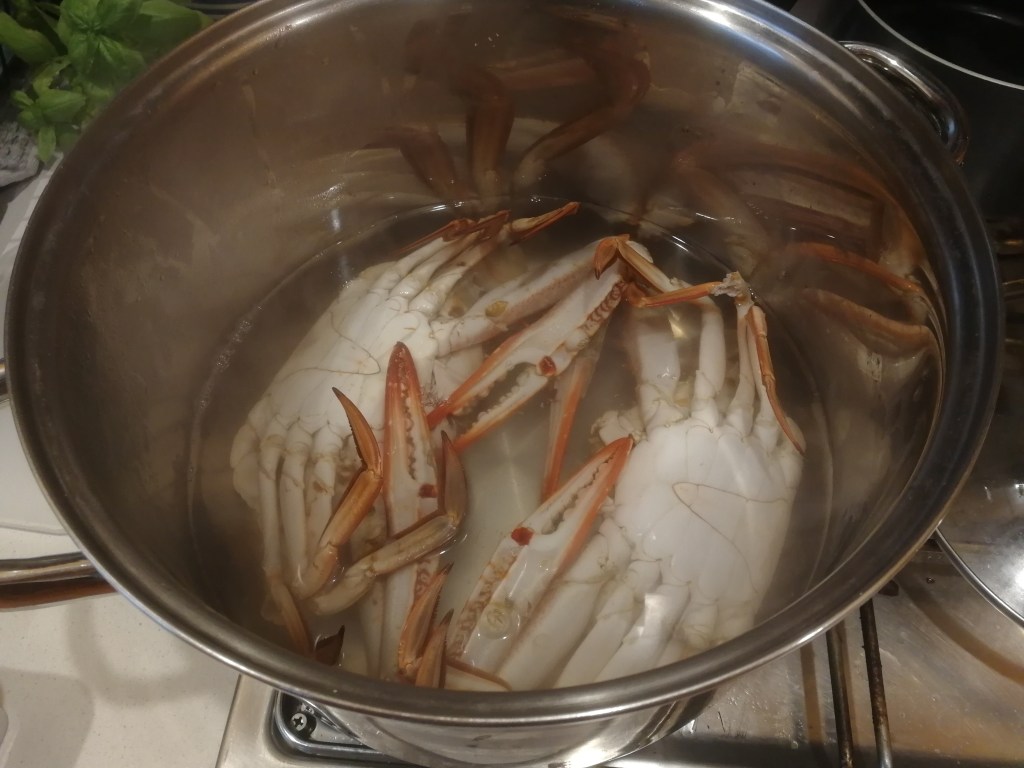
  1. Boil the crabs (or crab) for 3 minutes circa in a pot with enough salted water to use later to cook your pasta. The idea is to start cooking the crabs while enriching the flavour of the water in the process. For bigger crabs, cook for a couple of minutes extra.
  1. In the meantime, make a soffritto by lightly-frying a garlic clove, a chilli (it’s not a spicy dish, this is just for extra flavour) and a parsley stem (no leaves because they burn quickly). If you leave them cooking on minimal heat you can proceed with the next steps without turning the fire off.
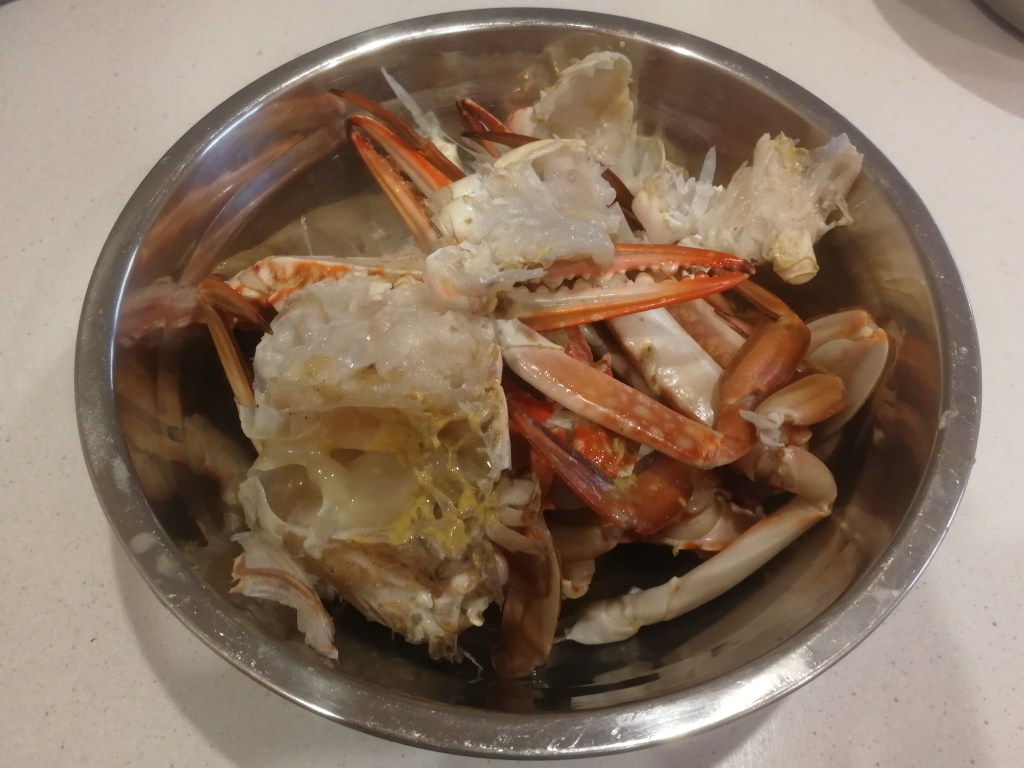
  2. Remove the crabs from the water and clean them as shown here. Mine is a lazy man’s recipe, so I simply remove the tail of the crab and its gills, but I do not extract any meat from the crab. It’s boring, it takes time and appropriate tools and getting dirty is integral to the crab-eating experience.
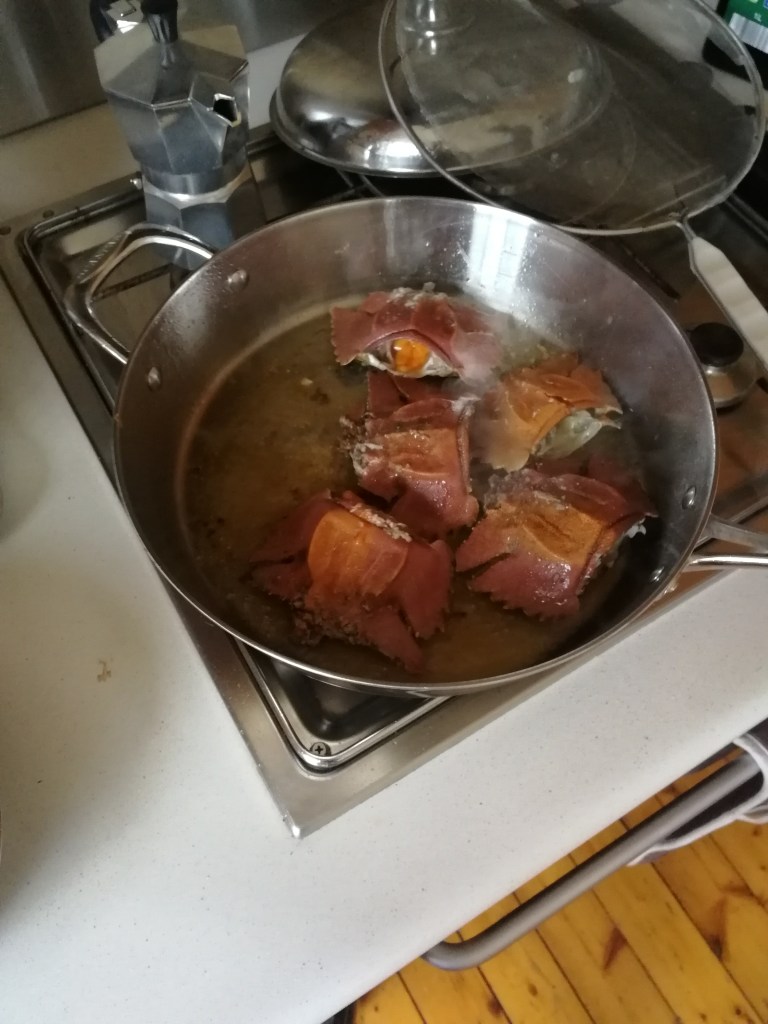
  3. IMPORTANT: When you crack the torso open, it will release a sizeable amount of juicy water. Do not let it go to waste. Collect the water using a bowl during the procedure.
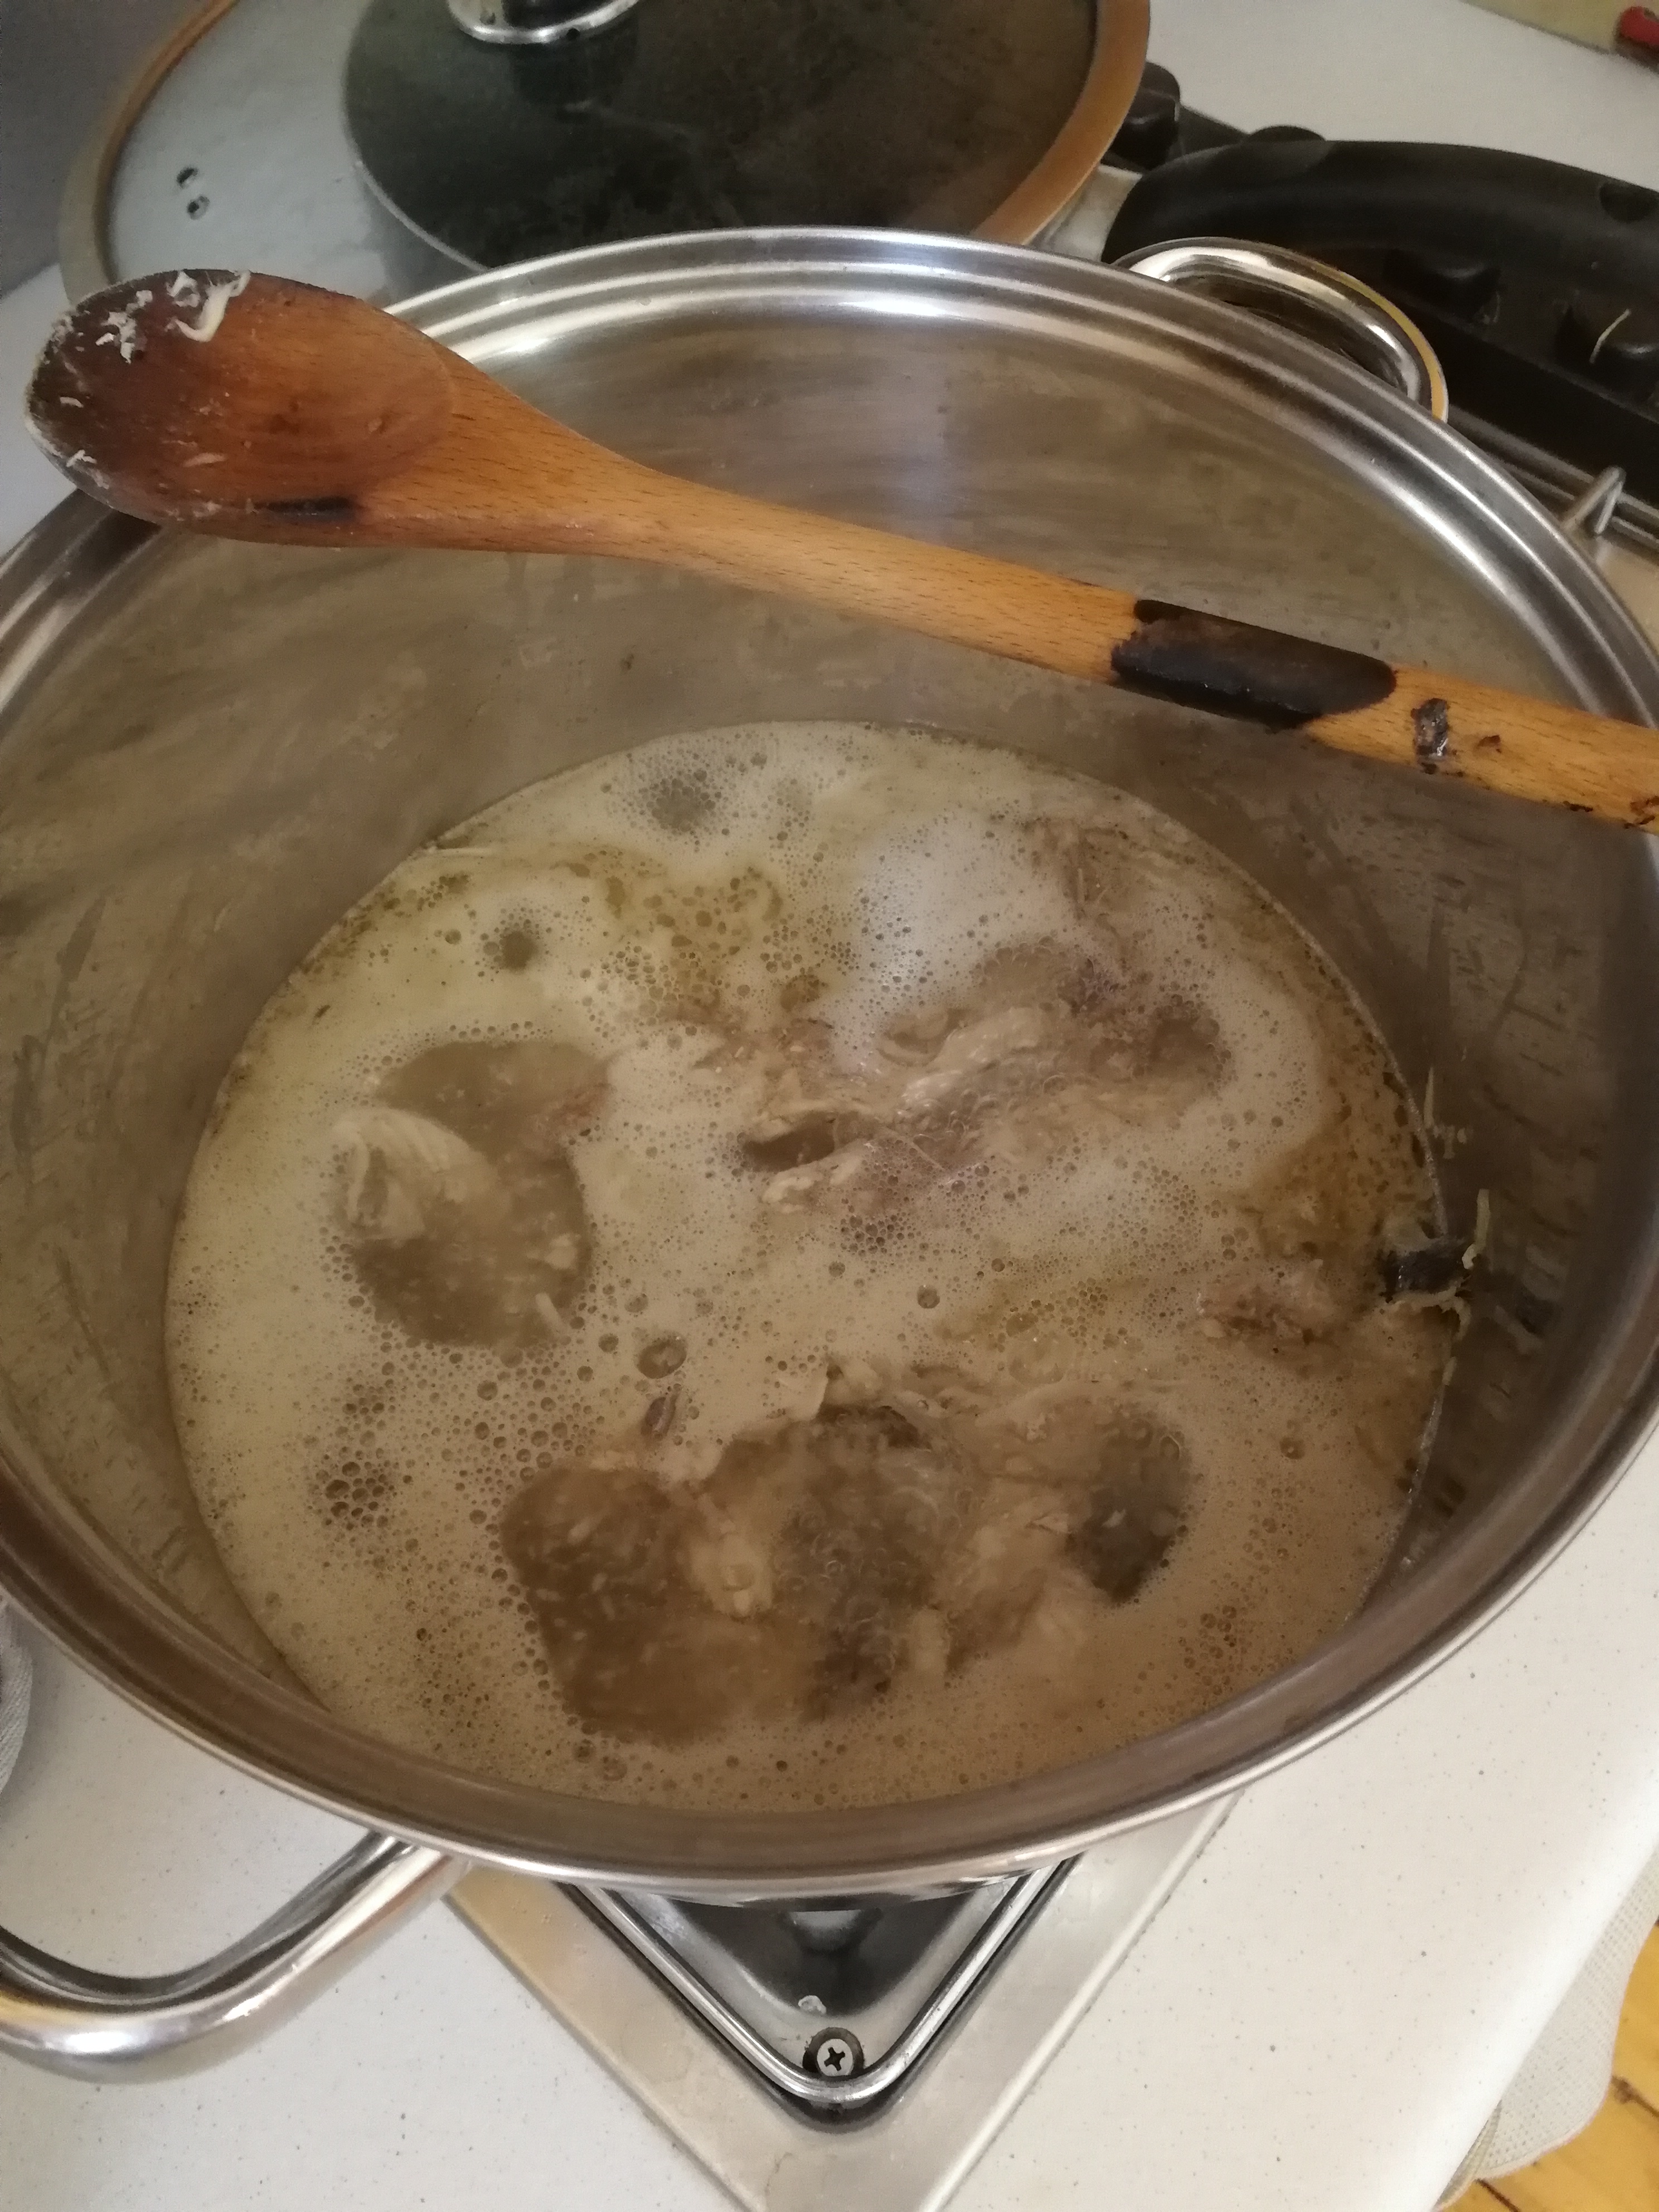
  4. Put the top part of the torsos — the meatless shells — and the residual water detailed at point (4) into the boiling pasta water. To confirm, this is the water you have cooked the crab in in step (1). You are hence left with the legs and the meaty part of the torso — which you have split in two as shown here.
Crab parts that will go in the sauce pan.
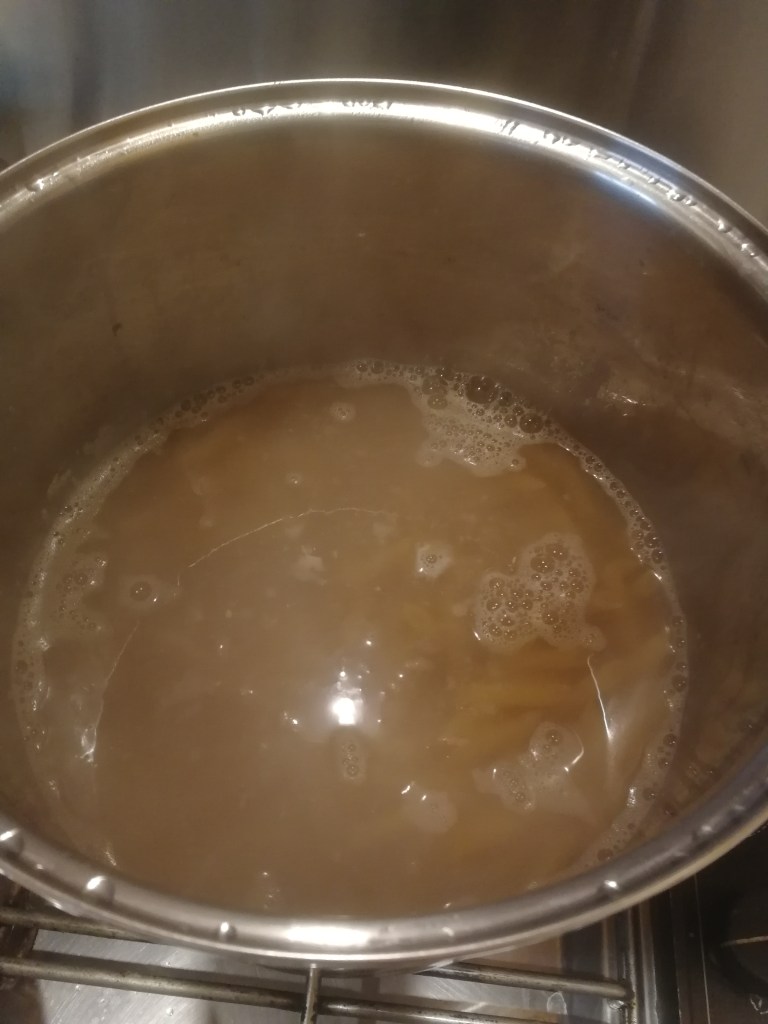
  1. Put the pasta in the boiling pasta water. The juices of the crabs should have made this water dark and flavoursome. You can remove the crab shells and use them to embellish the plate in the dishing phase.
Pasta getting cooked in salted water rich with crab juices.
  1. While the pasta starts cooking, throw the legs and torsos in the soffritto, together with some plum tomatoes (the sweet kind). Add half a ladle of tasty pasta water too, allowing you to cook on a high flame without burning the soffritto.
  2. After about 5 minutes, add some brandy (or cognac) to the pan and flambé, as shown here or by lighting it using a match.
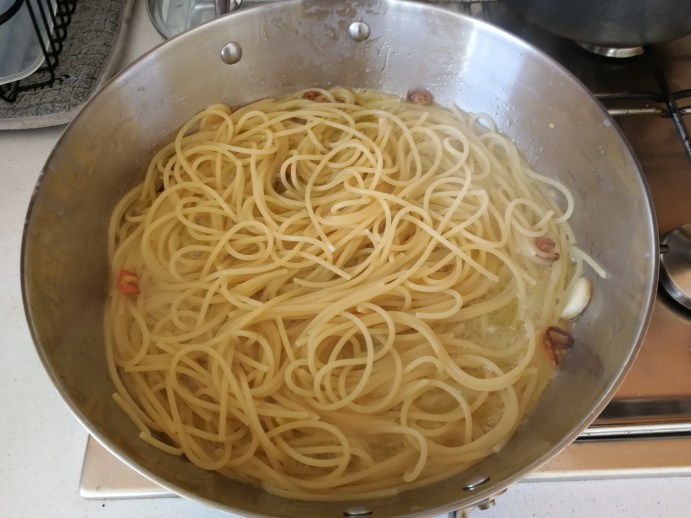
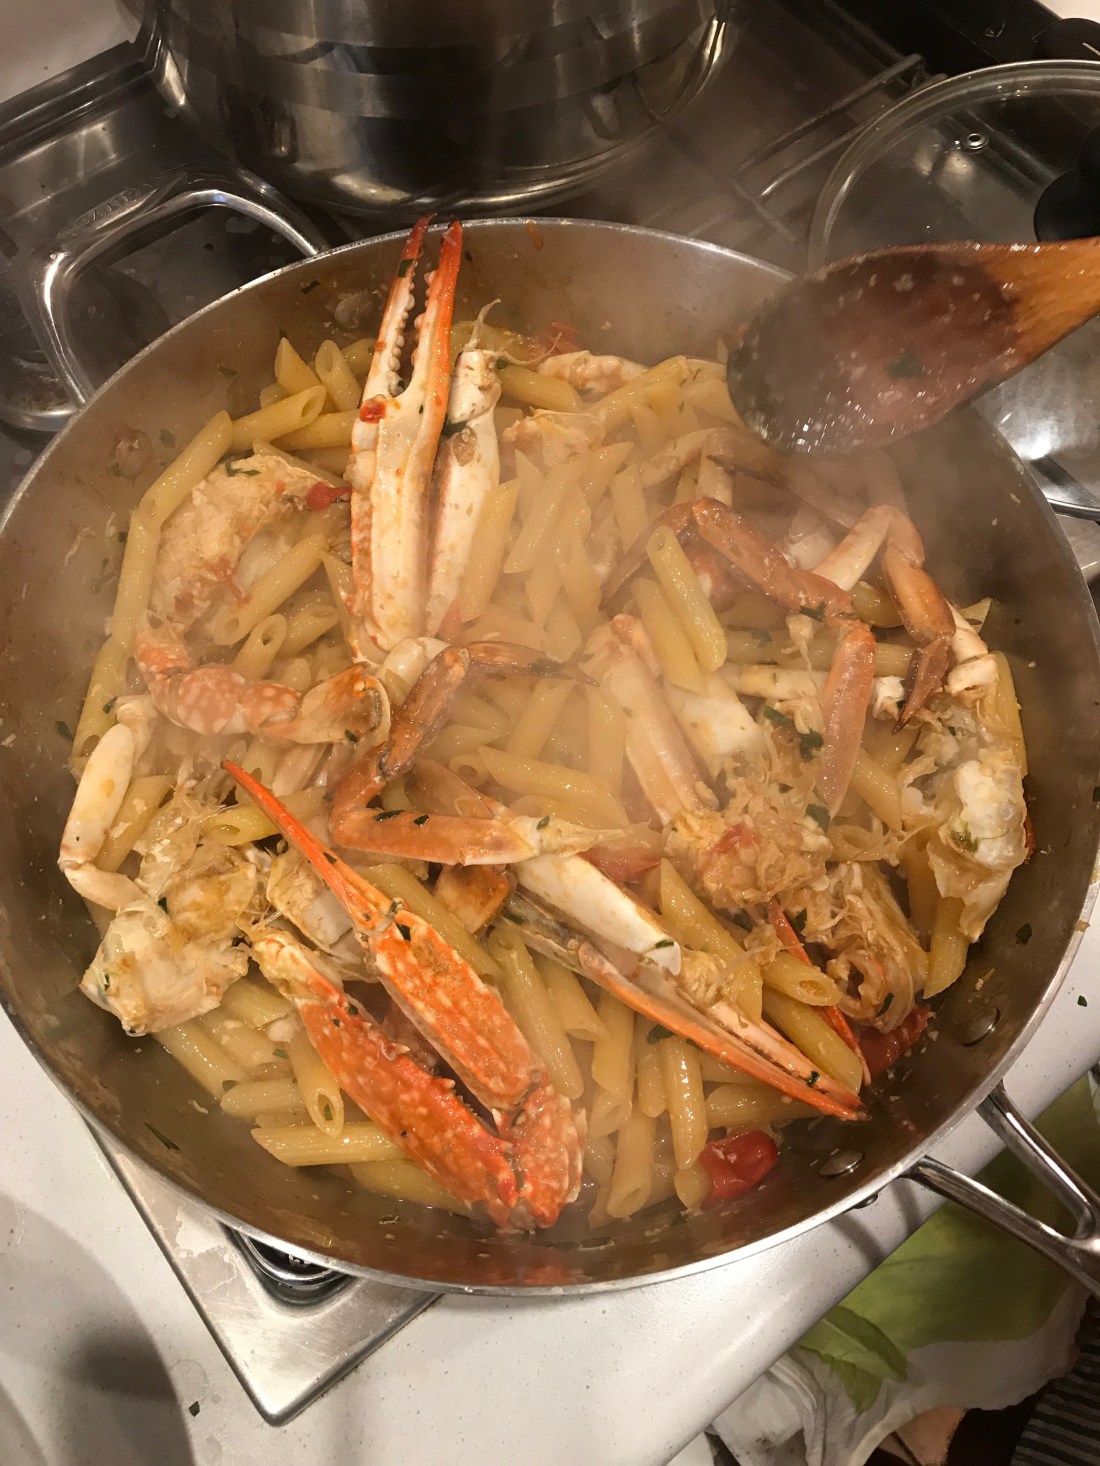
  3. It is important that you finish cooking the pasta in the sauce pan. This procedure is called risotto-ing the pasta. The pasta still needs to cook for, say, 3 minutes. You place it in the sauce pan and add ladles of pasta water until the pasta is ready (to check when ready, simply keep tasting it). Watch this helpful video if you are confused. Keep either flipping the pasta or mixing it vigorously with a wooden spoon throughout the process. The idea is to trap air into the sauce so that it might thicken.
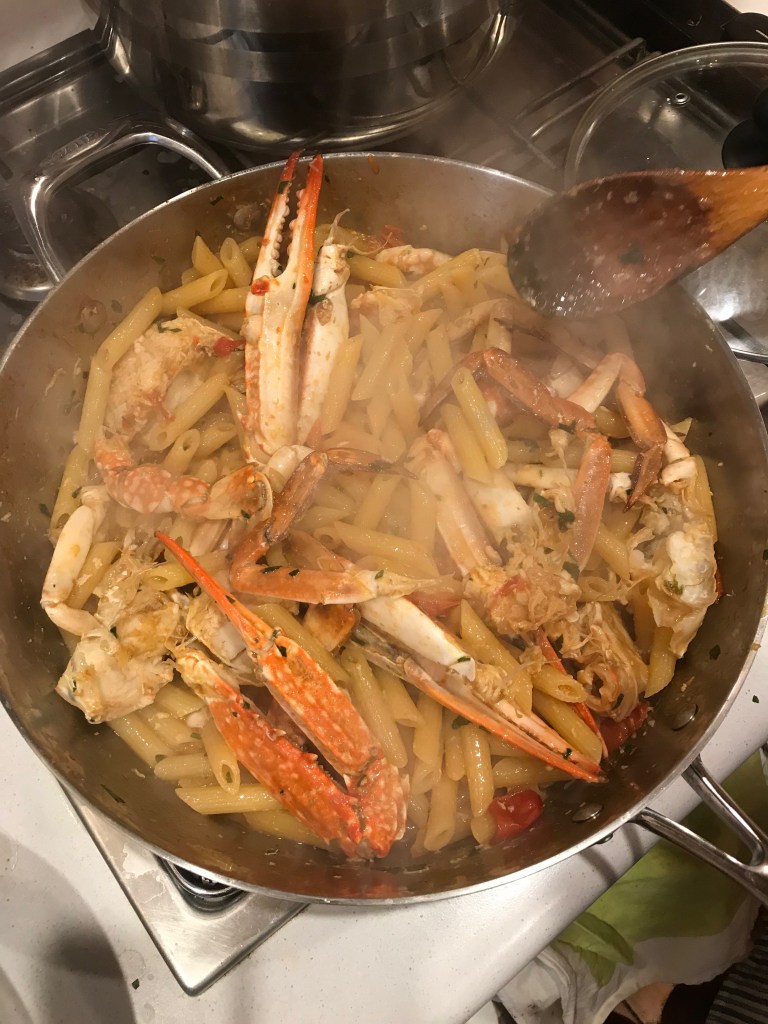
  1. While cooking, add some tomato paste. It will enrich the flavour while not making the sauce too tomato-y. During the last minute of cooking, add some chopped parsley too. Keep a pinch of parsley on the side to add directly on the pasta when plating the dish.

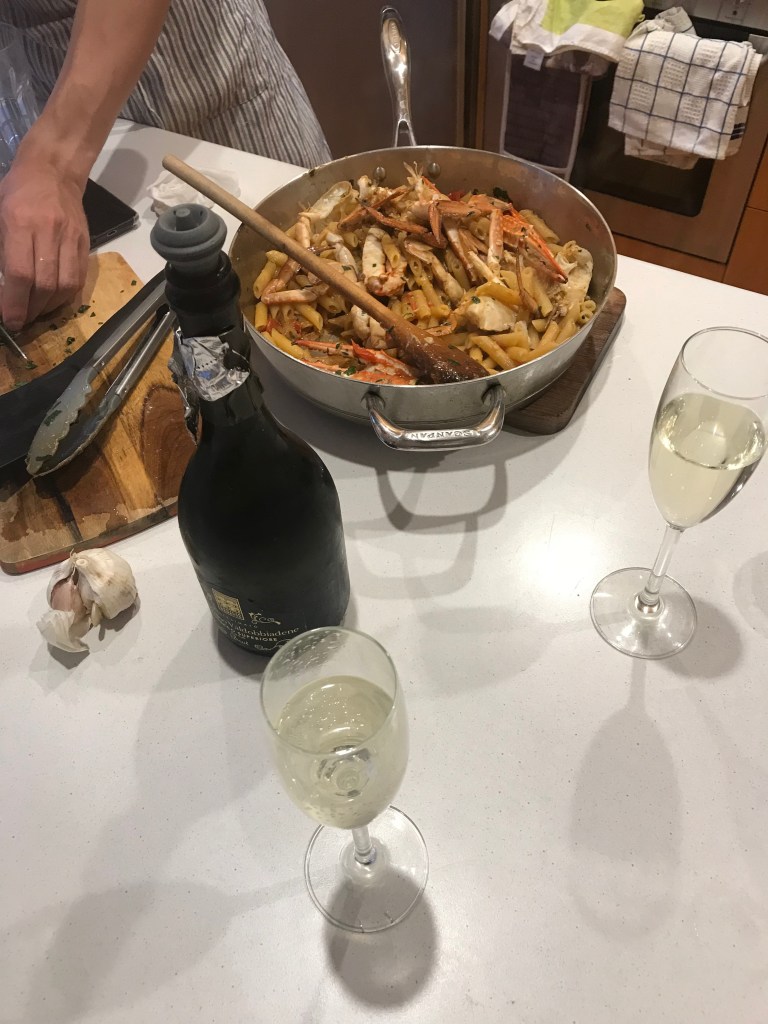
Congratulations, you have successfully prepared a dish that will make you famous among your friends!

Totani Ripieni – Stuffed Calamari

This is my super duper quick version of the totani ripieni recipe; perfect for when you want to treat yourself but have worked long hours.

Get 4 nice calamari. You know they are fresh when they still have their skin on. Clean them and separate the tentacles from the long head.

Now blitz the tentacles with stale bread, a bunch of parsley, one garlic clove and add salt and pepper. Take the oven to 175°. Stuff the calamari head with the paste obtained, close them with a toothpick as shown in the picture below. Put some baking paper on a tray and place the calamari on it. Grind a little bit of salt and pepper on them, grease them with a touch of extra virgin olive oil and then bake for 30 minutes. You are done, congratulations!

See you soon, my dear 3 readers!

Battered Sardines (Sardine in Cotoletta)

This recipe was a nice surprise. When I think of sardines, I think of a strong fishy taste that needs to be heavily tempered by a variety of other ingredients. However, either there is something wrong with that memory, or Australian sardines are more delicate than the Italian ones. In any case, this recipe manages in it simplicity to deliver a quick and mouth-watering meal, while helping you getting rid of old bread.

But first things first. Buy a bunch of fresh sardines (in my opinion, 5 per person is more than enough). Check if you have some old bread in the house; if not, fresh will work just fine. Crack an egg and beat it with a pinch of salt and pepper, even just with a fork. You can always add more eggs when you run out of it.

I used wholemeal bread, so they look particularly brown

Now take each sardine, dip it in the beaten egg and batter it with the breadcrumbs. Fry the sardines for 1-2 minutes in a pan using the oil of your choice (I used sunflower oil). Pass them in paper-towels to get rid of the oil in excess and serve! Adjust salt if necessary.

Furthermore, if you really enjoy a good batter, try to double batter it by passing the sardines in: (1) water, (2) flour, (3) egg, (4) breadcrumbs.

However you make it, this simple recipe will deliver. Trust me.

Au gratin scallops – Capesante gratinate

It’s scallop season! I took this opportunity to try a classic Italian recipe, often found at Christmas family gatherings. It’s super easy and the result is just delicious. This recipe is a slightly modified version of the one found here at Giallozafferano.

Buy the scallops (here 8). If fresh, clean them as shown in this video. Remember to not discard the orange part, or “coral”, as it tastes great too. Remove the crust from a piece of bread and place 100 g of bread in a mixer together with some parsley, 40 g of extra-virgin olive oil, a touch of lemon zest and a pinch of salt and black pepper. When adding salt to the breadcrumbs, keep in mind that this is the only salt you will use. Mix it: you have your panure.

Now, put the scallops back in their shells, cover them with the panure. Place them on a tray and the right in the oven, where they will cook for approx. 15 minutes at 190°. Complimenti!

This is a very basic recipe and a solid place to start. You can play around with the flavour by adding thyme, marjoram and other aromatic herbs. I might be trying another version soon, by legendary Chef Gualtiero Marchesi… I will let you know!

Pork ribs with parsley sauce

I tried out this recipe from the book “in cucina con Nadia & Giovanni Santini” for a dinner party with friends and it was a massive success. To give you some context, Nadia won the Veuve Cliquot World’s Best Female Chef prize in 2013 and cooks with her son Giovanni in the 3-Michelin-stars restaurant “Il Pescatore”.

So, ask your friends to provide abundant quality red wine and buy lots of ribs (they happen to be inexpensive). Here I am giving you the recipe for 12 ribs (4-6 people). Rub the ribs with salt and pepper and put them in a pan that can be placed in an oven, together with 1 litre of water, 50 ml of extra-virgin olive oil, the lemon juice of 1 lemon and 1 rosemary branch. Yes, you have to put it all together before you turn the flame on.

Cook them on a medium flame until all of the water has evaporated, then either place them in the oven (180°) or leave them in the pan. It is going to take around 50 minutes (minimum, in my experience) to make the water evaporate. Take them out when they have properly browned. If you opt for the pan, make sure to turn them continuously.

Have the parsley sauce ready to pair them with. For 6-8 people, start by finely chopping 1 bunch of parsley and putting it in a small bowl. Cover it with extra virgin olive oil (3 table spoons), add 1 undressed garlic clove cut in half and a pinch of salt and pepper. Add also the juice of half a lemon and 1 table spoon of white-wine vinegar. Your sauce is now ready. Enjoy.

Elba-style Octopus – Polpo all’Elbana

Isola d’Elba, best know known for being Napoleon’s luxury exile destination, is a wonderful island located in front of Tuscany. It is a truly remarkable place, which has escaped the over-development that has interested many tourist destinations in the past decades. My family’s restaurant, part of a wider business, is there located, close to one of Italy’s best beaches: Fetovaia.

Enough marketing though, I want to talk with you about an essential recipe of the Elban cousine. Polpo all’Elbana is the way to eat octopus, to access its true flavour. It is a simple recipe, yet it does not disappoint. My source is Chef Alvaro Claudi (video), who passionately took upon himself the duty to put in words (he wrote several books) the secular culinary tradition of the island. In the video, he reminds us how octopus is not only a delicacy, it is also very low in calories if cooked simply.

Let us get to the point(s) now and see how to make it:

  1. Fill a pot with water and boil it;
  2. While you are waiting for the water to boil, clean the octopus. It is easy: just remove what is in the head, carve the eyes out and remove the beak, located at the intersection of all the tentacles;
  3. Once the water is boiling, salt it. It should be 3 times the amount you would put for cooking pasta. If you don’t know how much salt to use, put 30 g for every litre of water in the pot. This is supposed to replicate the salinity of sea water. Add also a generous amount of chilli to it;
  4. Fork the head of the octopus and bathe it all three times in the boiling water. This has a twofold function: to toughen the skin, so that it will not fall while cooking, and to give the octopus a pleasant shape, as you will be able to see yourself;
  5. Leave the octopus in the boiling water for 20 minutes per each kilo of octopus;
  6. Turn the heat off and leave the octopus to rest in the water for as much time it took to boiled it, while placing a lid on the pot. E.g. for an octopus weighting 1.5 kg, boil it for 30 minutes and leave it in its water for another 30 minutes. This will soften its texture;
  7. Take it out of the water and serve it with no condiments added (only a drop of extra-virgin olive oil is allowed).
I served it with barley, boiled and the pan-fried in a garlic, pepper and thyme soffritto. The white wine is a divine 2013 Pinot Grigio Nals Magreid Punggl from Alto Adige.

Spaghetti Bottarga

Spaghetti con la bottarga has always been one of my favourite dishes. It is so full of character, so quintessentially marine. Enough poetry, let us learn how to make this delicacy. The idea is to make a aglio, olio e peperoncino (aka spaghetti with garlic, e.v. olive oil and chilli) and then to grate bottarga on it. Hence,

  1. Fill a large pot with water and put it on a high flame; while it you wait for it to boil, do the rest;
  2. Finely chop a bit of parsley: you will need it later;
  3. While the water heats up, pour extra virgin olive oil (e.v.o.) on a pan, medium flame. It needs to be a good quality e.v.o.;
  4. Once the oil is hot, put garlic and chilli into the pan and let them lightly fry;
  5. The water is boiling: salt it. If you don’t know how much salt to put, follow this rule of thumb: For each 100 grams of pasta, put 1 litre of water and 10 grams of salt;
  6. Now put the spaghetti in the boiling salted water;
  7. Cook the pasta al dente. The suggested cooking time for pasta al dente is usually written on the pasta box. However, for this recipe, drain the spaghetti one minute before that suggested cooking time and place the spaghetti in the pan (with the garlic and chilli). Keep some pasta water on the side, in case you need to adjust the density of the “sauce”;
    The aglio, olio e peperoncino finishes to cook in the pan (I added some water because it needed more cooking)
  8. Pan-fry the spaghetti for a minute;
  9. Once the minute has passed, turn the flame off and finely grate about a tablespoon of bottarga onto the spaghetti and gently mix. Be careful not to over do it, you will grate some more bottarga on each individual plate that you serve;
  10. The final step is to serve the pasta! As already noted, you may grate a bit more bottarga on top of the spaghetti. Don’t forget to sprinkle with parsley.

Congratulations! You are a privileged human being. Fortunately I still have some bottarga in the fridge…

Crustacean Stock

Browning some Balmain bugs heads for a stock.

Hi mum, hi sisters. Thank you for being my only readers, although you certainly do not need me to explain to you in a foreign language what you can find in most Italian cookbooks. Today we continue our fundamentals series, by adding the crustacean stock to the list. As I said before, a good stock is key to a restaurant-level dish.

There are several ways to make this recipe, some methods being more complex than others. I like this version, because it gives the maximum result with the minimum effort:

  1. Start by removing the shell and head from the crustaceans.
  2. Prepare a pan with a thin layer of extra-virgin olive oil on a medium-high flame.
  3. Once the oil is hot (you can check by throwing a breadcrumb in to see if it fries), put the shells and the heads in the pan and brown them. The more you brown them, the stronger the flavour. In any case, it is a matter of 5-10 minutes maximum.
  4. After this, splash them with brandy (or another sweet liquor) and set it alight (flambé). Once the fire wanes, add cold water. Be sure to add enough water to cover the shells and heads completely. Any extra water will only dilute your stock.
  5. If you don’t have cognac/brandy or you don’t feel comfortable with the flambé, pour half a glass (approx.) of white wine and let it evaporate, then cover with water as described above.
  6. Right after pouring the cold water, you may choose to add herbs to the stock (see bouquet garni). I prefer to enhance the delicate flavour of the crustacean as much as possible, without adding anything extra.
  7. Allow the stock to gently boil (sobbollire) for half an hour (minimum) and then filter. You have your stock!
Browning prawn heads for another instance of crustacean stock.

Now, as you can see in the pictures above, I like making this recipe with the heads only. This is because I generally make this stock in preparation for a seafood pasta and I prefer to cook the tails with their shells on when preparing the sauce.

As a side-note, there is a trick for the lazy and for the late. If you are making a seafood pasta, just put the shells in the same boiling salted water in which you will later cook the pasta. They will release their flavour while you prepare the rest of the sauce!

See you in a few days with more about how to make a beautiful sauce with this stock!

Calamari alla diavola: a devilish approach to squid

The bottarga, trust me, is nice and dessicated in my fridge. While I wait for the right occasion to make the spaghetti bottarga (apologies for the delay), I want to show you a classic simple recipe for cooking calamari. Any kind of squid can be used. I used Loligo squid recently and had excellent results. When purchasing the squid, make sure that the skin is not peeling off: it’s a sure sign of freshness.

Start by cleaning the squid. Stick your fingers up in its “head” (yep), and empty it. Then pull the “bone” out. Finally, carve the eyes out. Remove the beak at the intersection of the tentacles. I usually separate the head from the tentacles in this process. Leave the skin on. Then:

  1. Make a soffritto with a rosemary branch, a clove of garlic and abundant chilli (it’s meant to be spicy). This means heating up extra-vigin olive oil in a pan on a medium flame, then adding these ingredients to lightly fry without burning;
  2. Put the squid on the pan. It takes only 4-5 minutes in total to cook. As soon as it changes colour, pour half glass of white wine (or less) and let it evaporate. Heat should be medium-high.
  3. When the wine has evaporated and the 4-5 minutes are over, you are done!

If you find it hard to chew, you might have overcooked it. In that case, you can either get over it, or put it back on the pan and cook it on low heat for another 40 minutes, approximately. After a prolonged time, your squid will be soft again, although it will lose its texture.

Fish stock: a simple secret for outstanding dishes

Making a stock instead of buying an industrial one is easy, cost-efficient and it gives a sensible edge to your dishes. In his Oltre il Fornello (Beyond the stove), Gualtiero Marchesi describes how to make it.

  1. Wash the fish head (removed of its gills) and bones thoroughly, thus removing most of the blood;
  2. Grease up a pot with butter and put some finely chopped veggies in it (e.g. leeks or onions) to sweat, as in to release their liquids without getting brown. Make sure that the flame must be low enough to allow this.
  3. After that (no need to wait), add the head and bones too (chop them if possible), so they can sweat and dry up as well;
  4. Once their liquids from from fish and veggies have evaporates, add half a cup of white wine (or more if you feel it is not enough);
  5. After the white wine has evaporated, cover with water and add herbs. These are usually a bouquet garni, aka parsley’s stems, a little thyme branch and a piece of bay leaf.
  6. Let it boil for half an hour and frequently remove them foam emerging on the surface (or foam it);
  7. Before filtering it, push vigorously on the carcass and on the veggies so as release all their juices.

A final note: different classes of fish are best suited for different types of fish stock. The tastiest ones (e.g. red mullet, scorpion fish) are well-suited for soup-oriented fish stock. Flatheads are one of the midrange options, making a great all-round stock. Avoid the most delicate specimens such as sea breams, sea bass and freshwater fishes; they don’t provide much flavour.

Your fish stock is now ready to give flavour to soups, sauces and even baked fish! Do not salt it, as you will put salt in the final dish that your stock is being used for. Do not exceed in the use of veggies and herbs: they are not the protagonists. Freeze the stock if you want to it to last for longer.